The following is intended for Information Purposes Only and no responsibility is taken whatsoever for any consequences that result from reading this article. Inexperienced and uninformed gun owners should heed advice and refrain from doing their own trigger adjustments or rifle repairs and modifications. If you don’t know what you’re doing, there can be a serious, if not, fatal outcome for yourself or someone else. Make sure to read our disclaimer.
Gun manufacturers such as Remington prohibits the adjustment of their triggers and the weapon’s warranty is null and void if any variations are done. However, adjustments of a Winchester trigger are permitted and do not affect the warranty.
Any undertaking to make use of the information provided herein is solely at the discretion of the reader who should responsibly assess their ability and skill before making any adjustments to their rifle. If you are unsure about anything presented below, have your rifle adjustments done at a qualified gunsmith.
Adjusting your Winchester trigger is easy (for experienced shooters who know the ins and outs of their rifle). Firstly, you’ll need to get the following tools together: two small ¼” open-ended wrenches, a very small screwdriver and pink nail polish for locking the screws and nuts after the adjustments are done.
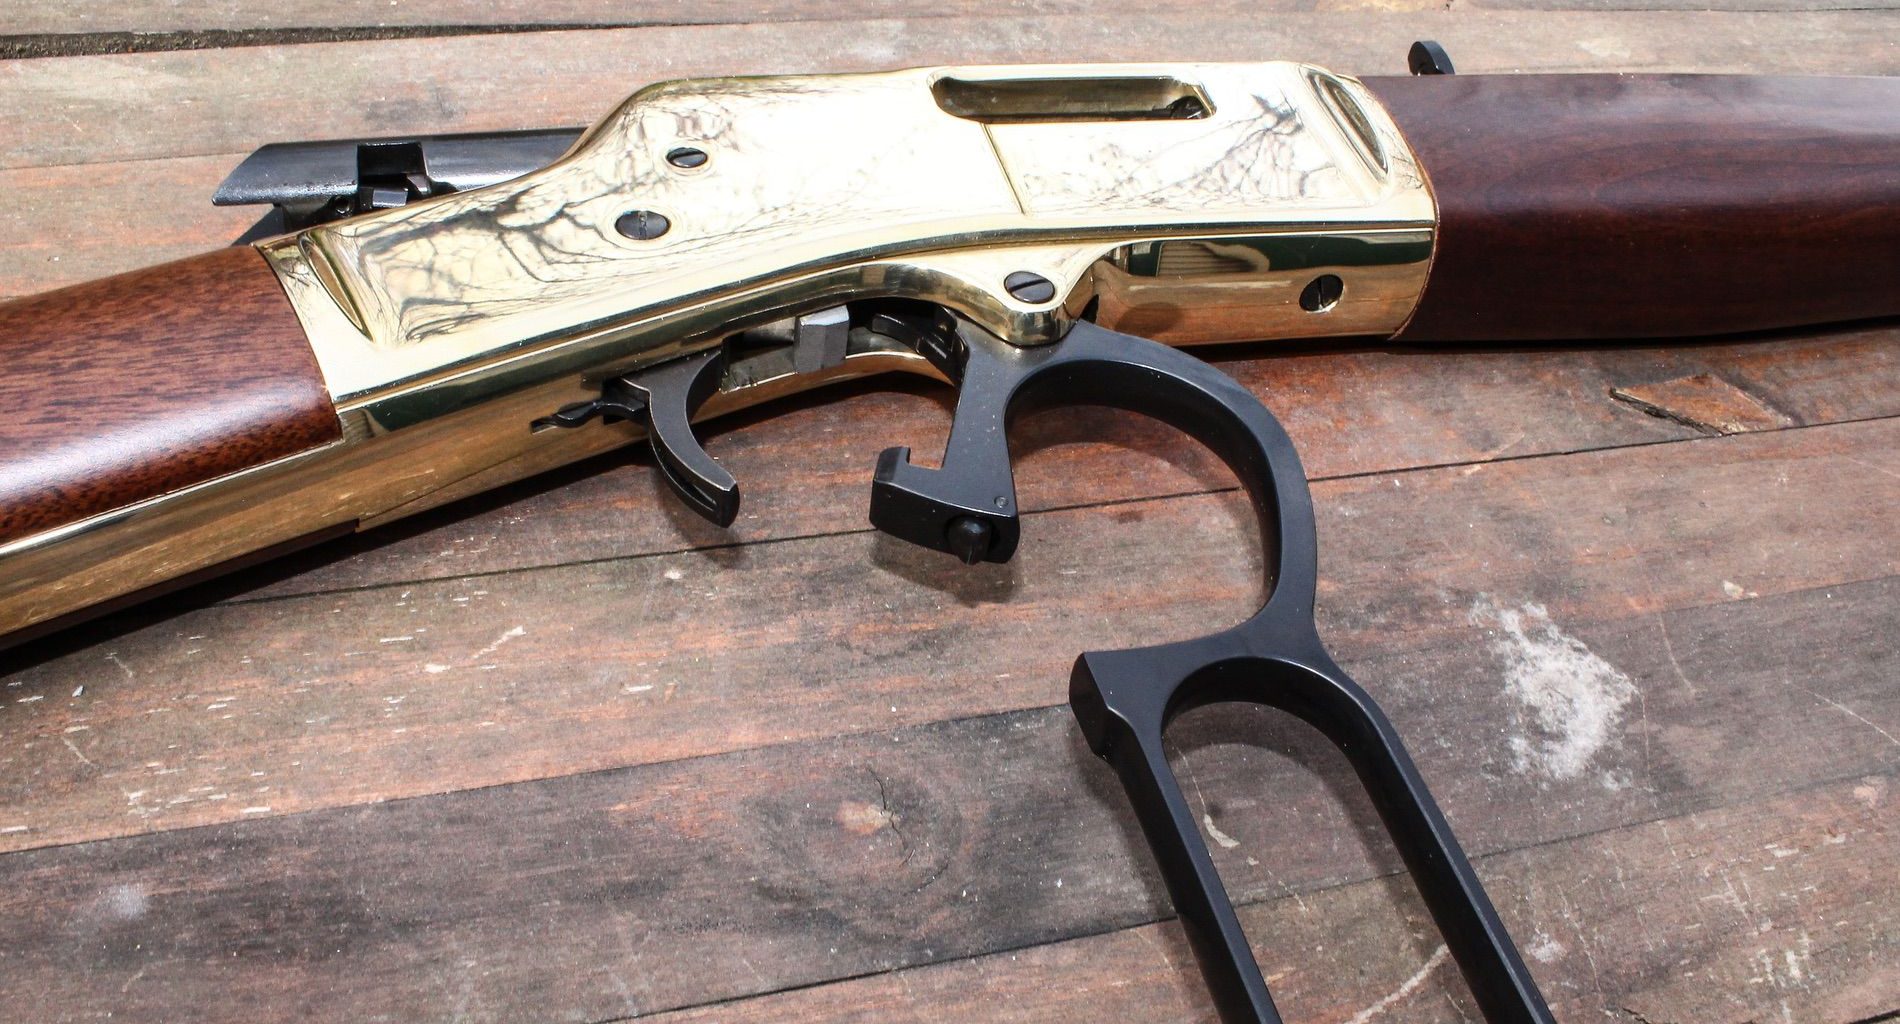
Start by pulling the action out and you’ll see three nuts on the trigger. Two nuts hold and lock the spring, which controls the pull weight, and the single nut holds the overtravel screw in position. The engagement setting is constructed into the trigger bar with a gauge. Do not file the trigger if there is too much creep. An expert gunsmith should do this, or you should consider an aftermarket trigger like the Jewell.
Place the barreled action out on a clean workspace and loosen the three nuts using the ¼” wrenches. To adjust the pull weight, position the two paired nuts down to contact the trigger. Test the pull weight. You can move the two nuts up to the action until you feel the weight isn’t too light. However, if the weight is too heavy with the paired nuts down on the trigger, then detach the trigger stop and remove the spring. Cut off one coil and replace the spring. Start the process from the beginning until the pull weight feels right then lock the pair of nuts against each other.
Take the small screwdriver to adjust the overtravel screw until it feels right for you then the nut must be locked against the trigger bar. This is where the nail polish comes in. Apply the pink polish onto the nuts to keep them tight. Winchester nuts won’t loosen if properly tightened. It’s not advisable to use Loctite on triggers as it will cause the small screws and nuts to seize.
Reassemble keeping in mind the action is held into the stock with two end bolts that need to be very tight using 65” pounds of torque (or a torque wrench) or a screwdriver. The middle screw secures the front of the trigger guard and keeps the magazine box in place; it does not hold the action in position.
Adjusting Savage Triggers
Only do this if deemed safe. The process reduces the trigger’s pull weight and sear engagement adjustment from that manufactured by the Savage factory. Adjusting the Savage bolt action rifle trigger for target shooting means you don’t need to chamber a round until you need to shoot.
To adjust a Savage 110 with a factory trigger, take the rifle out of the stock. The trigger spring is a fairly straight thick music wire piece touching a screw with an interior shallow notch ground that engages the wire spring at each half turn. Rotate the screw to reduce the spring’s pressure that relaxes the trigger pull. If all pressure is lost on the screw, you’ve turned it too far. It’s preferable to use two half turns of compression on the spring to give an estimated trigger force of two pounds.
Sear engagement is a horizontal adjustment as opposed to the vertical adjustment described above. Close and cock the bolt so the chamber is empty before adjusting the screw until the trigger fires, which is the point of zero sear engagement. To provide a minimum safe engagement, back the screw out an eighth to a quarter of a turn. Too much engagement will result in too much creep making the trigger move before firing. In contrast, if there’s too little engagement, the rifle tends to be too sensitive and could fire from a jolt.
It’s imperative to assess safe functioning after completing any trigger adjustments. Keep the rifle cocked regardless if the bolt handle is shut. The trigger block safety on the Savage 110 doesn’t allow the trigger to be pulled back enough to fire. Any of the adjustments could inhibit applying the safety mechanism or it could be possible to fire the rifle even though the safety lock is on. If you don’t rely on the safety feature because you don’t load till you need to fire, then this won’t be a big problem for you, however understanding how the safety works after adjustments is important for any gun owner applying modifications.
A small degree of trigger pull is needed to switch the safety on. If the sear engagement is minimal, it could still allow disengagement so increasing the sear engagement may be needed for reliable functioning of the safety feature.
Note the trigger and the part that engages the sear are made by coalescing a powdered material into a solid mass that results in a hard but thin exterior with a soft, pliable interior. Not knowing this, one may make the mistake of being tempted to polish it to minimize friction. However, it will expose this softer interior metal causing the part to wear down rapidly resulting in increased friction.
The adjustment screw’s weight-of-pull provides 6 ounces per half turn of adjustment. The trigger pull adjustment screw can be altered by grinding a shallow slot perpendicular to the factory ground slot to enable adjusting the trigger tension in quarter turn increments.

