The Camo
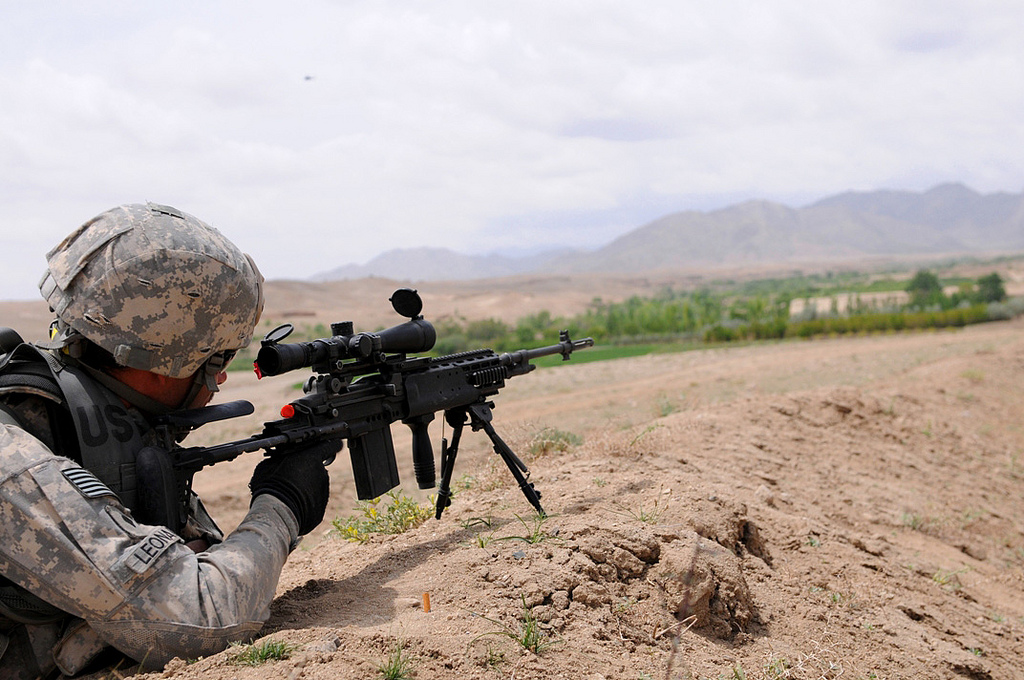
In nature, some animals, insects and plants have a biological defense mechanism that helps them blend into the environment to hide from predators. The military in particular mimics this clever behavior for cover and concealment in combat. By wearing certain clothing or using specific materials and equipment, soldiers and snipers can go undetected from potential attackers.
Cover and concealment are distinguishable terms where cover is having protection from direct or indirect fire and concealment prevents a shooter or hunter from being seen. If you don’t have access to military-grade camouflage accessories, then you’ll need to spend a few bucks on camo gear or get creative with DIY camouflage. Gun enthusiasts are passionate so it’s normal to want all the cool equipment that goes with the sport. If you’re going to kit yourself out with everything from scent-concealing agents to a ghillie suit, then remember that whatever you’re carrying while on a hunt, needs to be camouflaged too. Like, your rifle.
Although some shooters camouflage their rifle for a tactical look or to match their outfit, it’s a necessity if you want the advantage in hunting, otherwise, you’ll have the sun glistening off your rifle during a deer stalk exposing your position. There are a lot of camouflage patterns to choose from and each has relevance to the environment. If you’re out hunting in Autumn, a brown, red and orange camo pattern would be ideal but that same pattern wouldn’t work if you are hunting in the snow. But, if you’re out in the woods, use a base color like green or tan to merge into a foliage environment as the colors will match the vegetation.
The Rifle
Applying camouflage to your rifle comes with added benefits. Not only does the concealment provide you with cover from being noticed, it protects the gun too. Whether you spray paint, use laminate covers, vinyl wraps or camo tape, the additional covering adds protection from water, dirt, and scratches.
A DIY camo project is a fun exercise if you’re confident with experimenting and keen to try your artistic ability. Take some time in selecting a camouflage pattern because there is big selection to choose from, like the popular desert, arctic or urban camo. If you’re ready to transform your rifle, first setup a ventilated and suitable workspace. Then, get a two by four piece of wood to practice on.
One of the cheaper ways to camo your rifle is with spray paint. The Krylon paint is a bargain at $3 a can. For this DIY example, we’ll use the American Military BDU pattern, which requires four colors: OD green, dark brown, tan and black. There are parts of the rifle you don’t want to paint, so use tape to cover these areas and make sure the scope covers are closed.
Start with the green as a base and paint the uncovered parts. Wait at least 20 minutes for the paint to dry. Then, starting from the barrel, apply slanted stripes 5-6” wide using the dark brown paint. Wait another 20 minutes for the paint to dry. At this stage, the rifle is half green and half brown.
You’ll need some imagination when adding the tan color next. First, tear a section from a newspaper page and cut it into any shape you like. Use one page of the newspaper for each pattern/shape that you make. These shapes should be smaller than the OD green or dark brown. Place the shapes where you want to paint, like on the border where the green and brown touch. Take the tan paint and spray away. Again, you need to wait for the paint to dry before continuing.
To finish it off, you can hand paint black blobs and wavy lines in between the tan, green and dark brown, which is meant to imitate sticks and branches when you’re hunting in the woods. Now you can proudly show off your own DIY camouflaged rifle.
BONUS OFFER: Get your free shooting range targets to print at home!
Get your free targets to print at home!
Painting Primer
This is just one homemade method that may work for some but not for others. Experimenting with different ideas and different rifles will give you a better idea of what suits you and your skills. If you’re thorough and detailed, you could create a masterpiece, but if you’re less so inclined, the result may not be what you expected. This is not a guaranteed technique and using this is done at your own discretion and risk.
On a final note, here are a few basic tips on preparing for your painting primer:
- Cleaning: Remove any parts attached to the rifle, like the bolt, bolt carrier assembly and charging handle. Start cleaning off any oil and grease as well as dirt because you need the paint to stick. Ensure its clean before applying the primer. Use acetone first, then allow it to dry before adding alcohol to wipe it down. Then wash it down with good old soap and water.
- Keeping It Clean: To maintain the cleaned state of the rifle, it’s best to use gloves or clean towels while handling it.
- Tape and Foil: Use masking tape to cover all the areas of the rifle that you don’t want to paint. For bigger areas or awkward spots, you can use aluminum foil to cover it up.
- Quality Primer and Paint: Recommended options that have yielded good results include using a zinc oxide primer and Krylon or Rust-oleum flat paints. Using a paint with a flat finish is more important than you may realize. If you apply any satin or glossy finish, it could be too reflective and reveal your position.
- Light Coats: First you’ll need to add a coat of primer and wait at least one full day before painting. When the primer has completely dried, you can apply the paint and wait for it to dry before handling the rifle again.
So, all-in-all it’s fairly simple to do this process yourself, especially if you’re on a budget and you’re curious about doing your own DIY camouflaged project.

